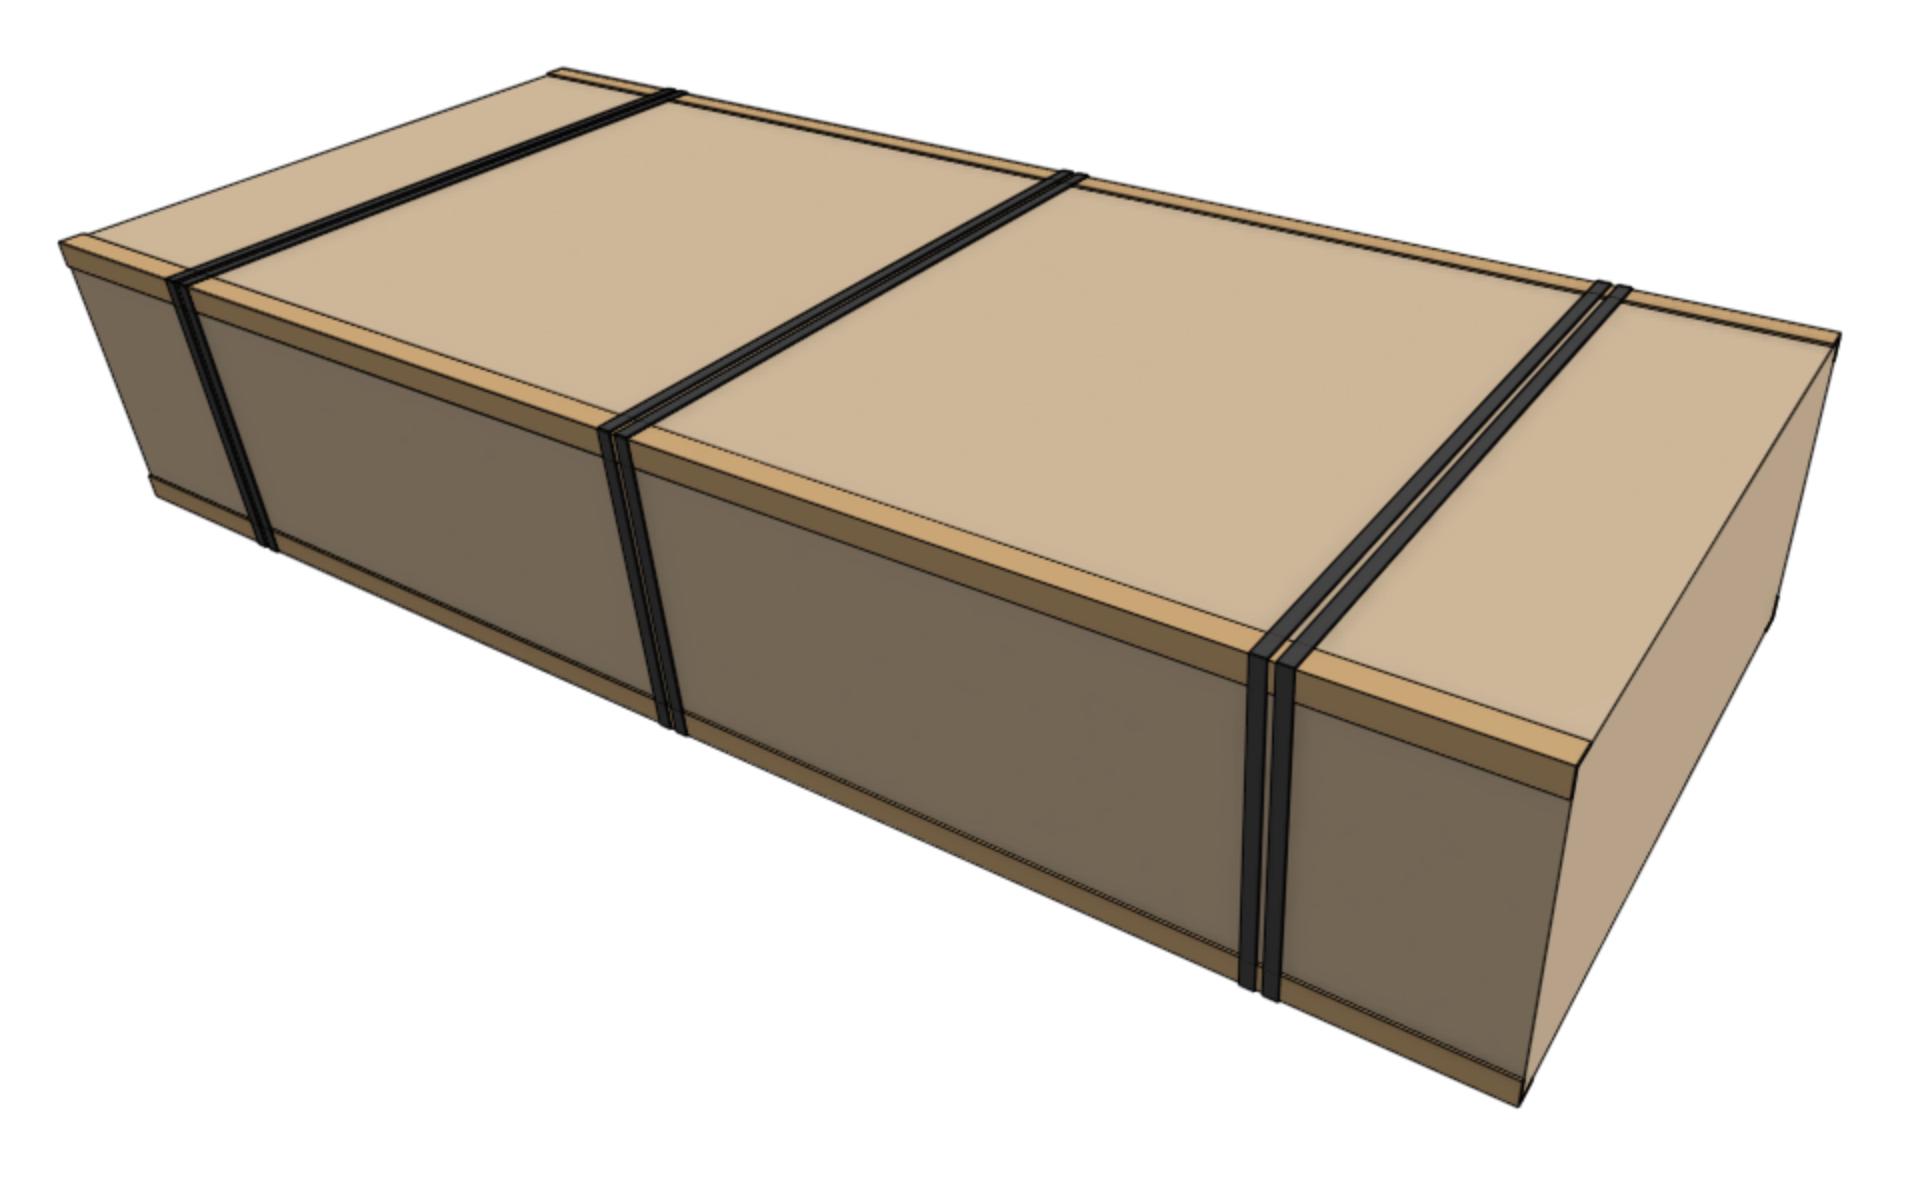
Main Carton Packing
Packing details for FarmBot Express and Express XL
Box specifications
| Inner dimensions (L x W x H) | 1210mm x 500mm x 217mm |
| Outer dimensions (L x W x H) | 1220mm x 510mm x 227mm |
| Material | Cardboard |
| Color | Brown |
| Printing | Express v1.0 Express XL v1.0 |
| Fill | Two egg-carton trays One cardboard tray divider Recycled kraft paper |
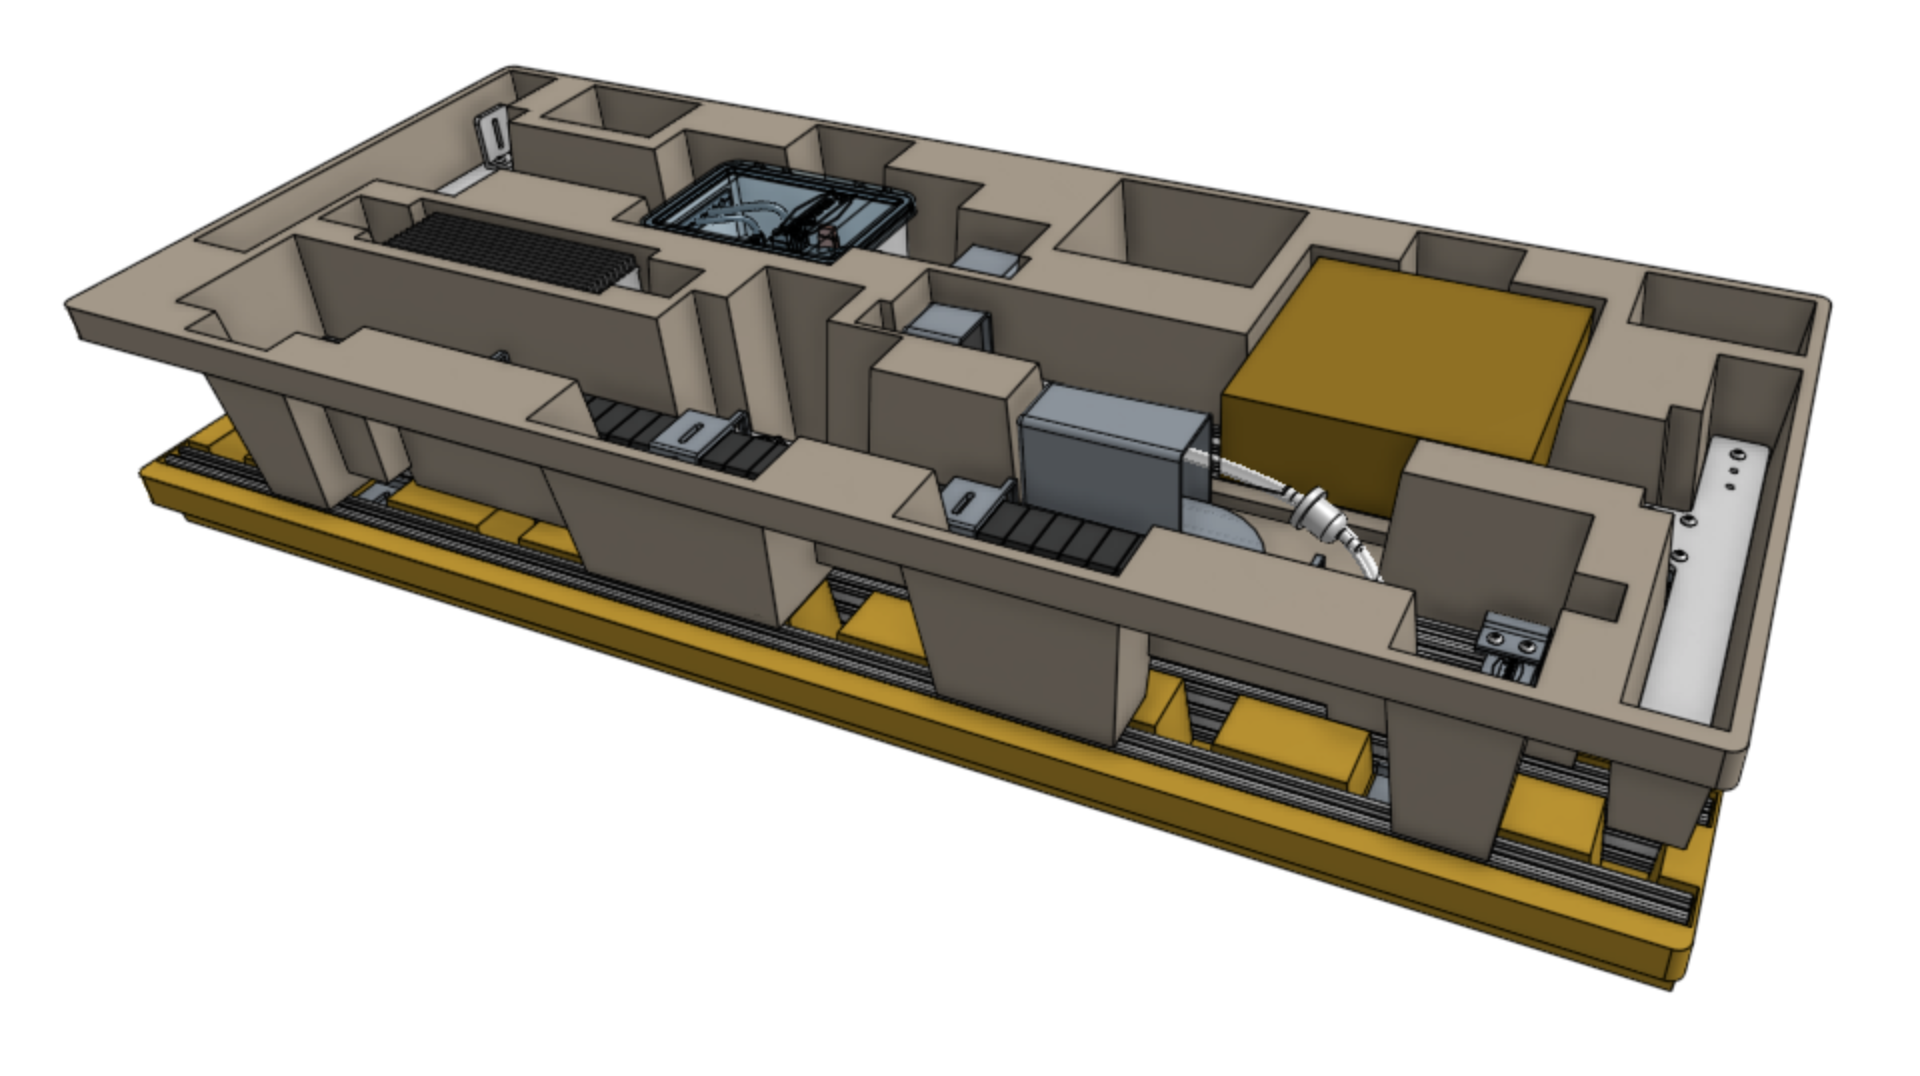
Packing list
The table below shows the items that should be packed into the main carton for each version of the kit.
Packing instructions
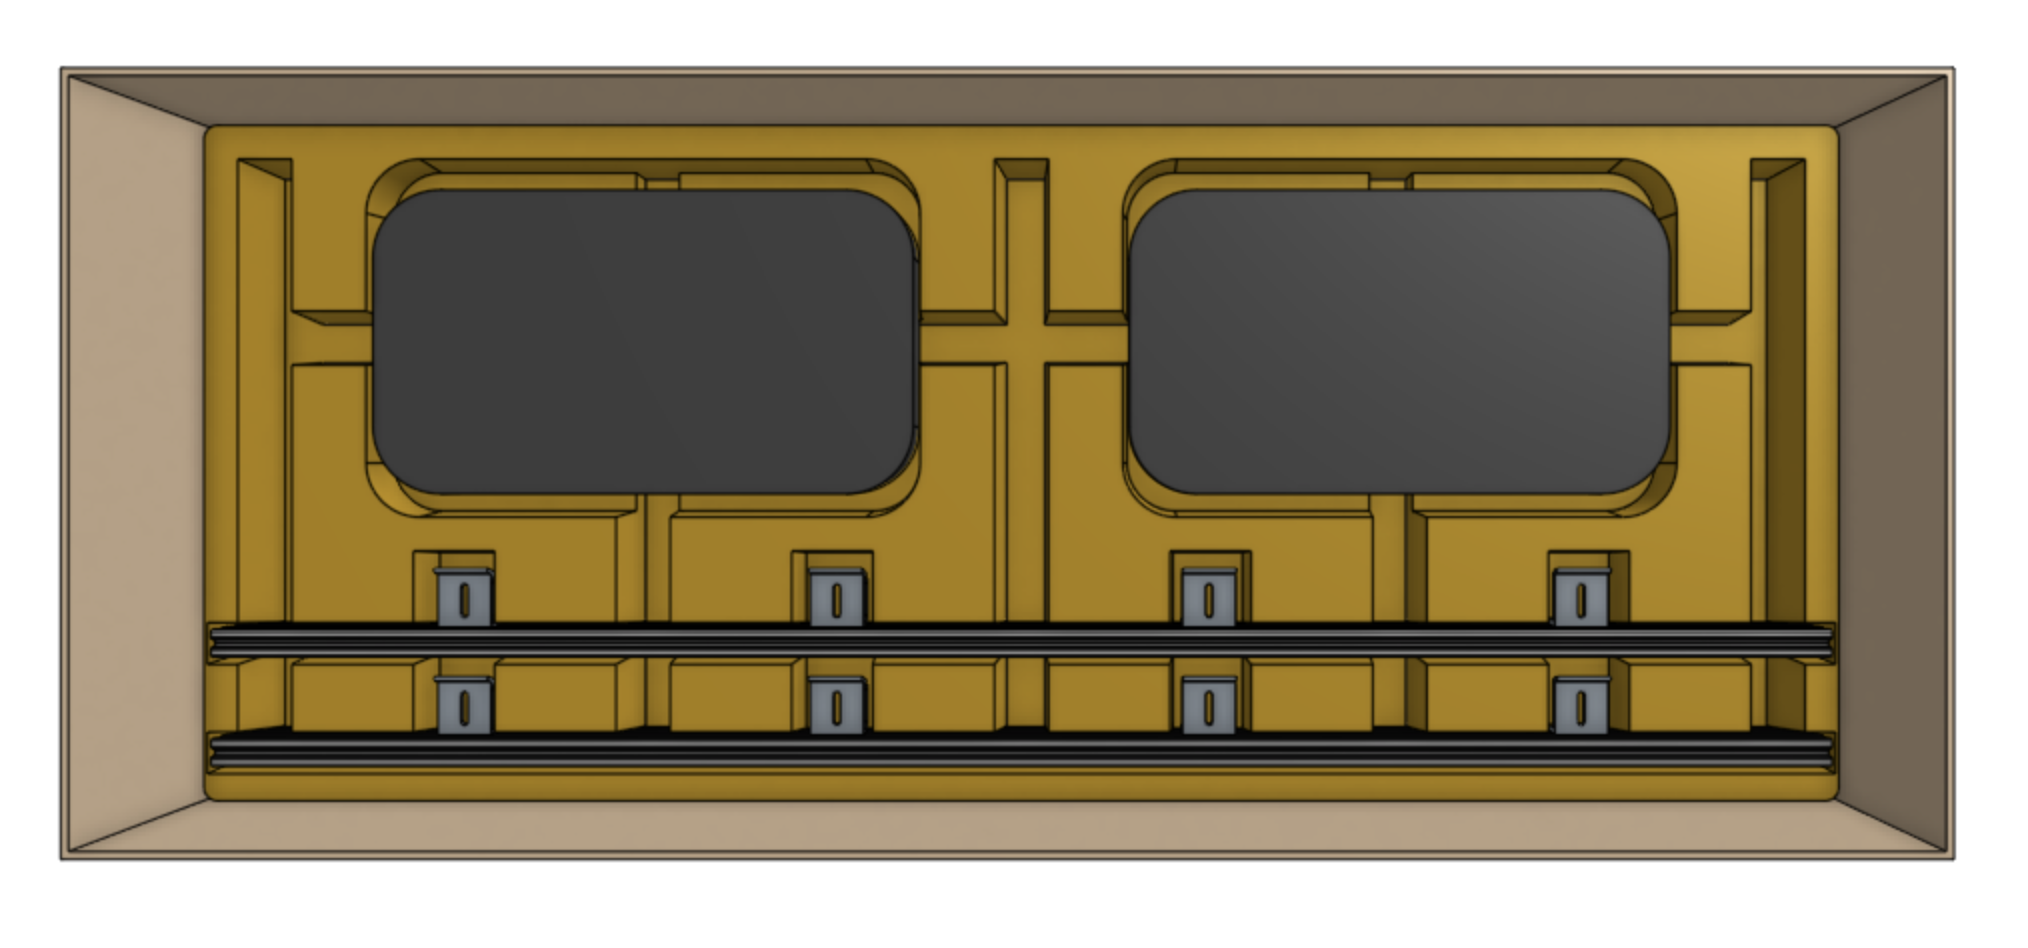
Step 1: Load the bottom tray
Insert the bottom tray into the main carton.
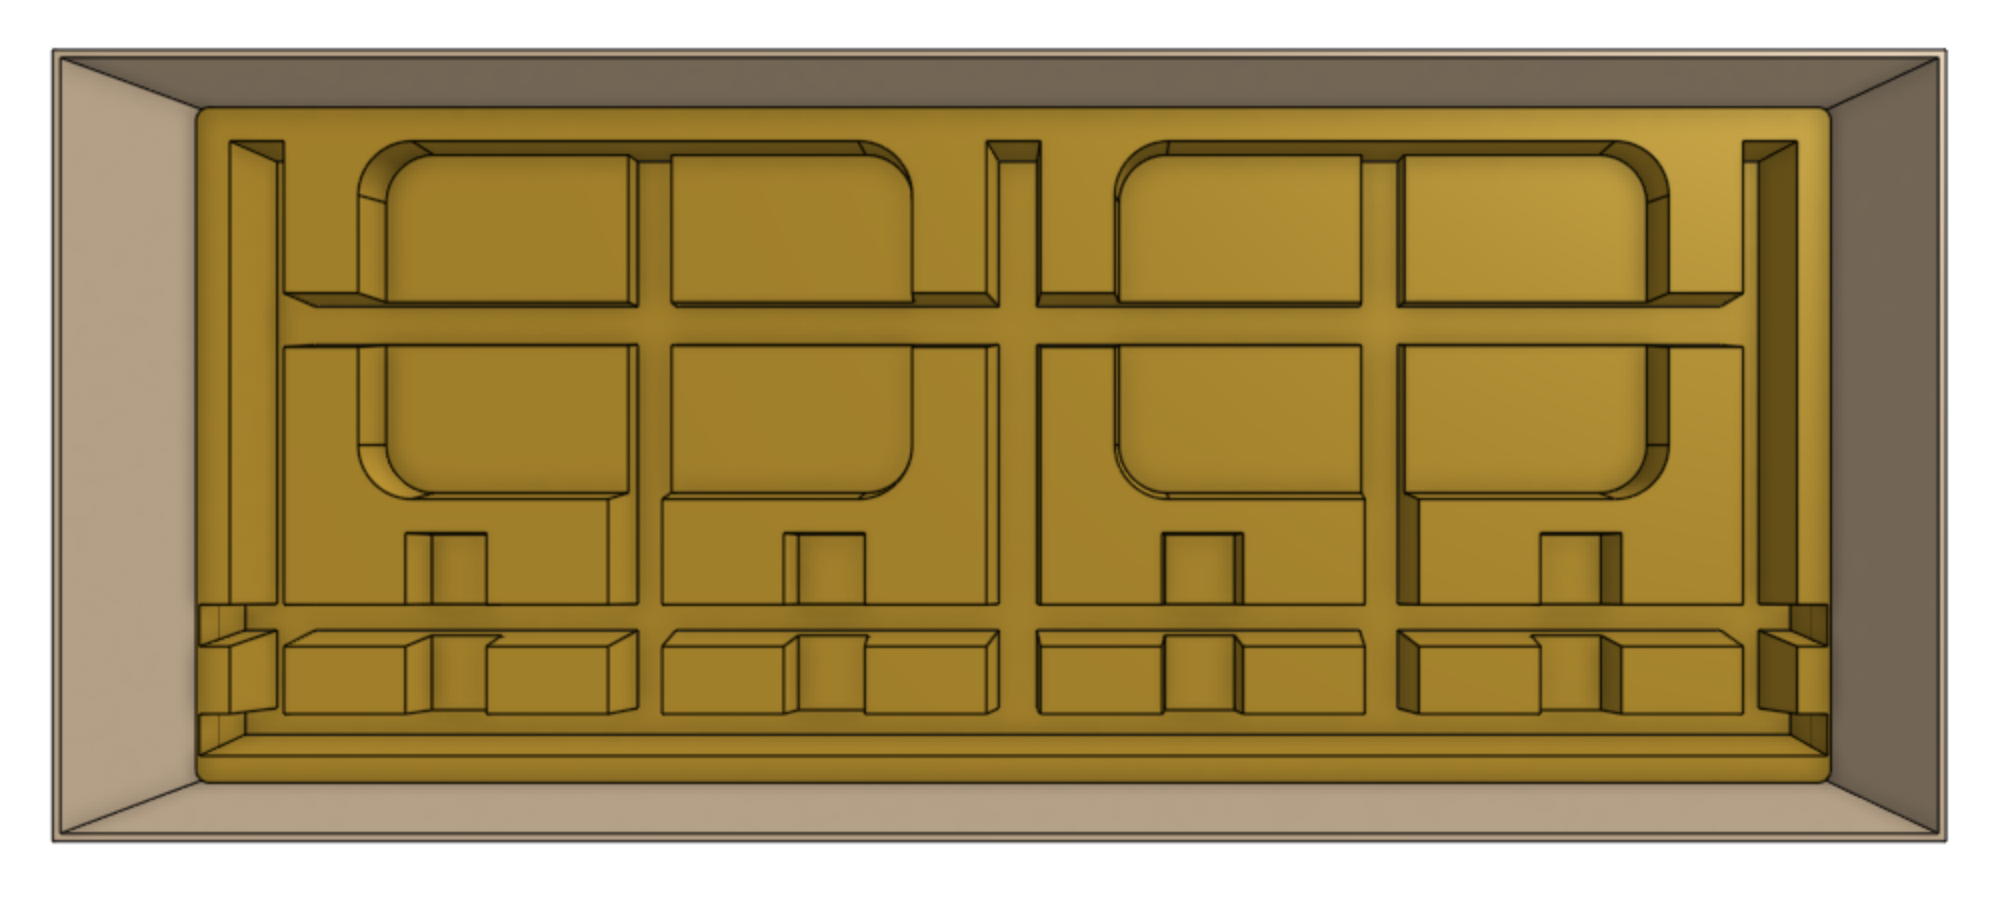
Place the loaded x-axis cable carrier and loaded y-axis cable carrier into the tray. Fill unused space with recycled kraft paper.
Ensure the correct version of each cable carrier go into the kit
Express kits must include the Express version of the cable carriers:
- Loaded X-Axis Cable Carrier (Express)
- Loaded Y-Axis Cable Carrier (Express)
Express XL kits must include the Express XL version of the cable carriers:
- Loaded X-Axis Cable Carrier (Express XL)
- Loaded Y-Axis Cable Carrier (Express XL)
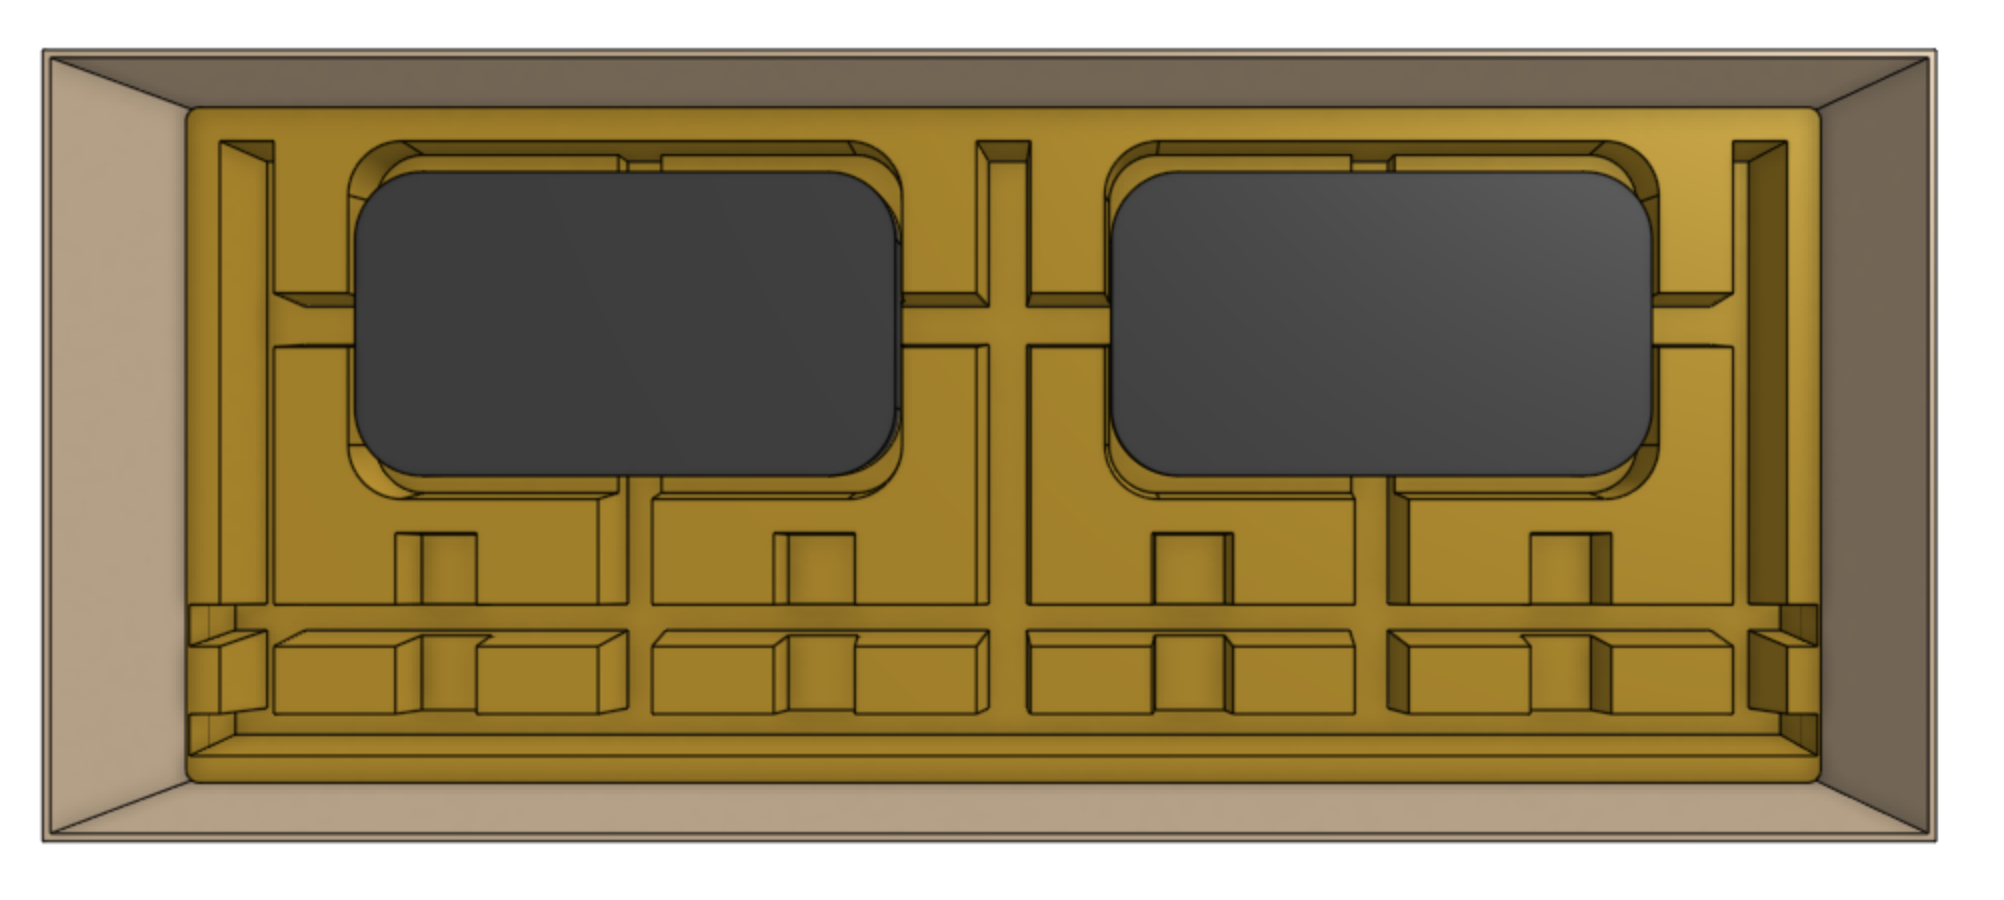
Place the pre-assembled gantry main beam(s) intro the tray. Express kits should have one main beam, while Express XL kits should have two main beams.
Step 2: Insert the cardboard divider
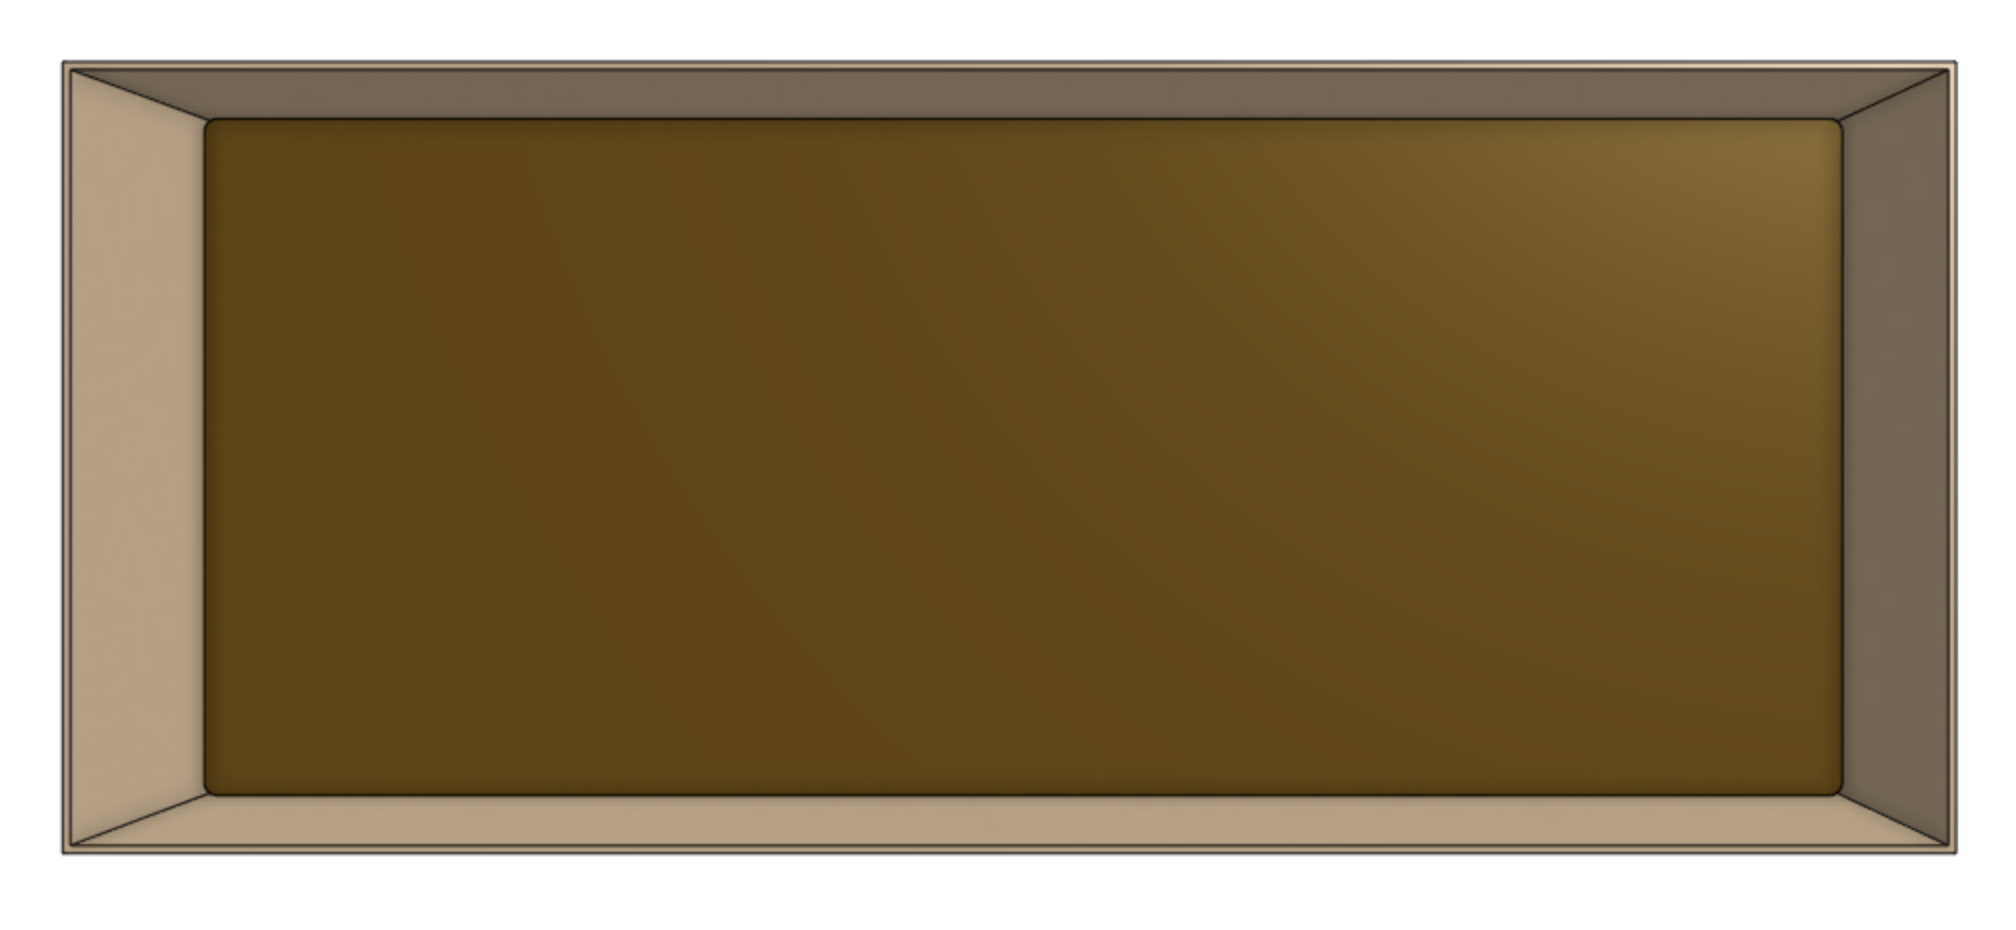
Place the cardboard tray divider on top of the bottom tray.
Step 3: Load the top tray
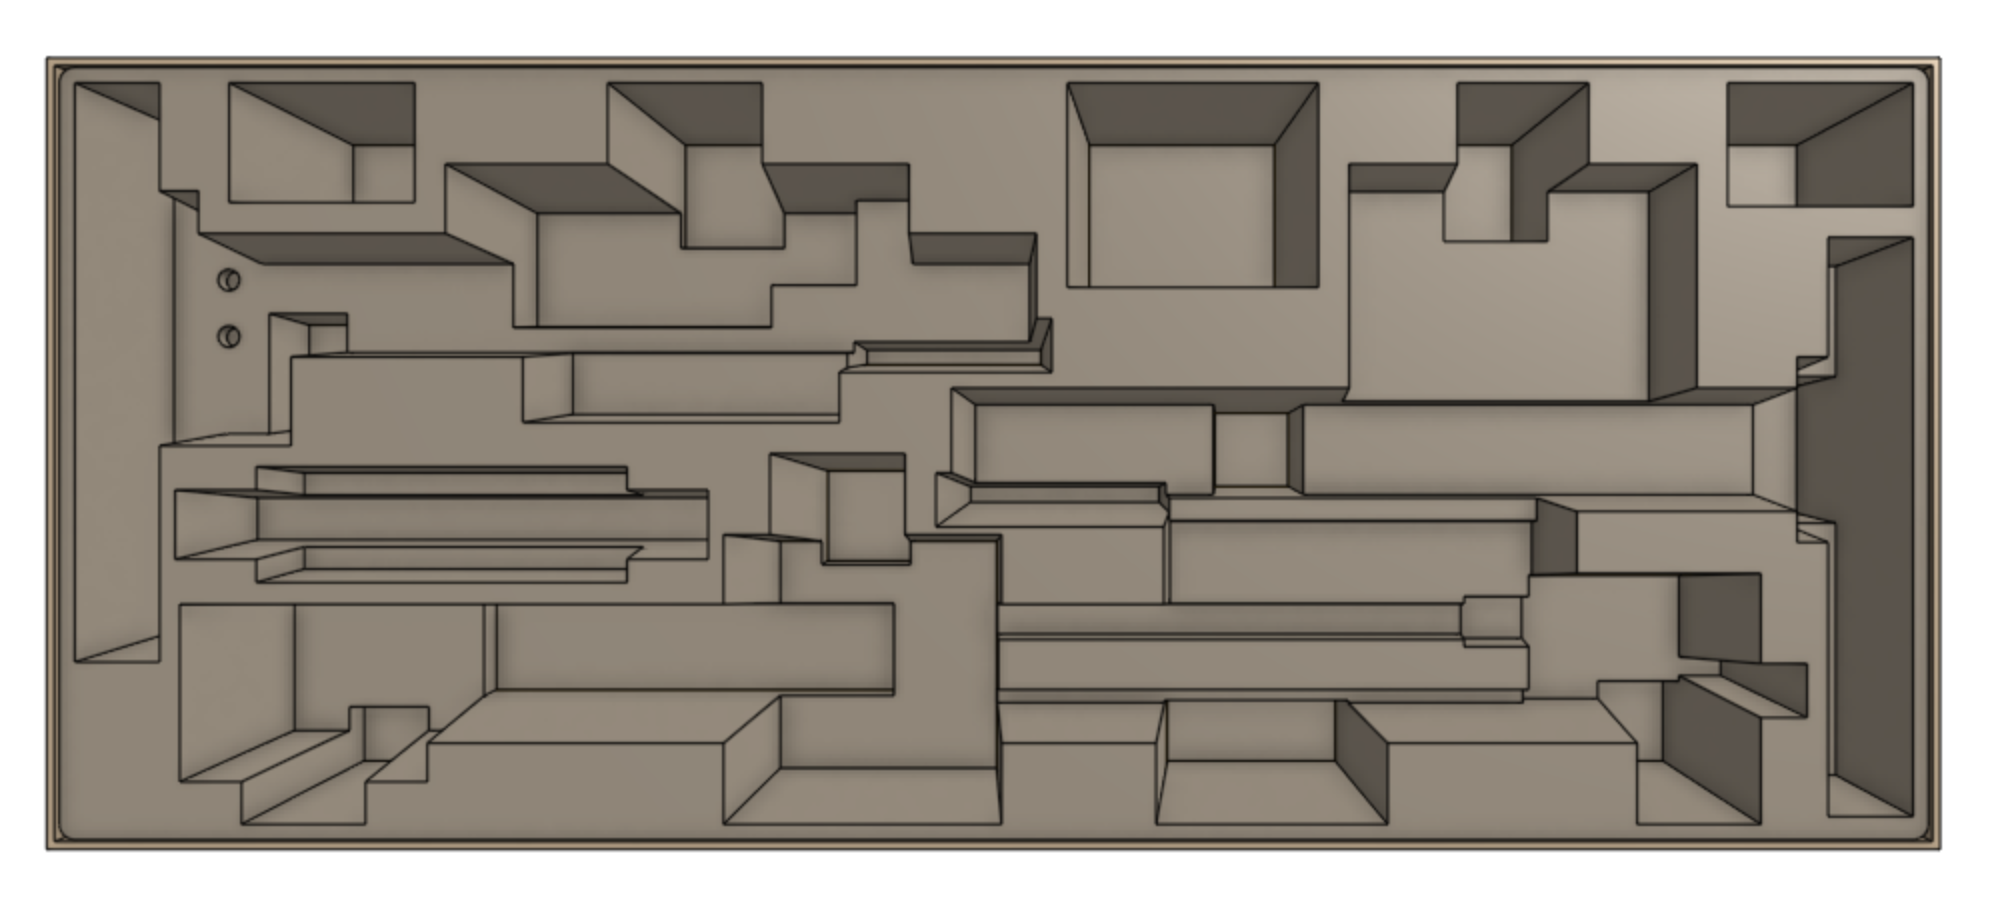
Insert the top tray into the main carton, on top of the cardboard divider.
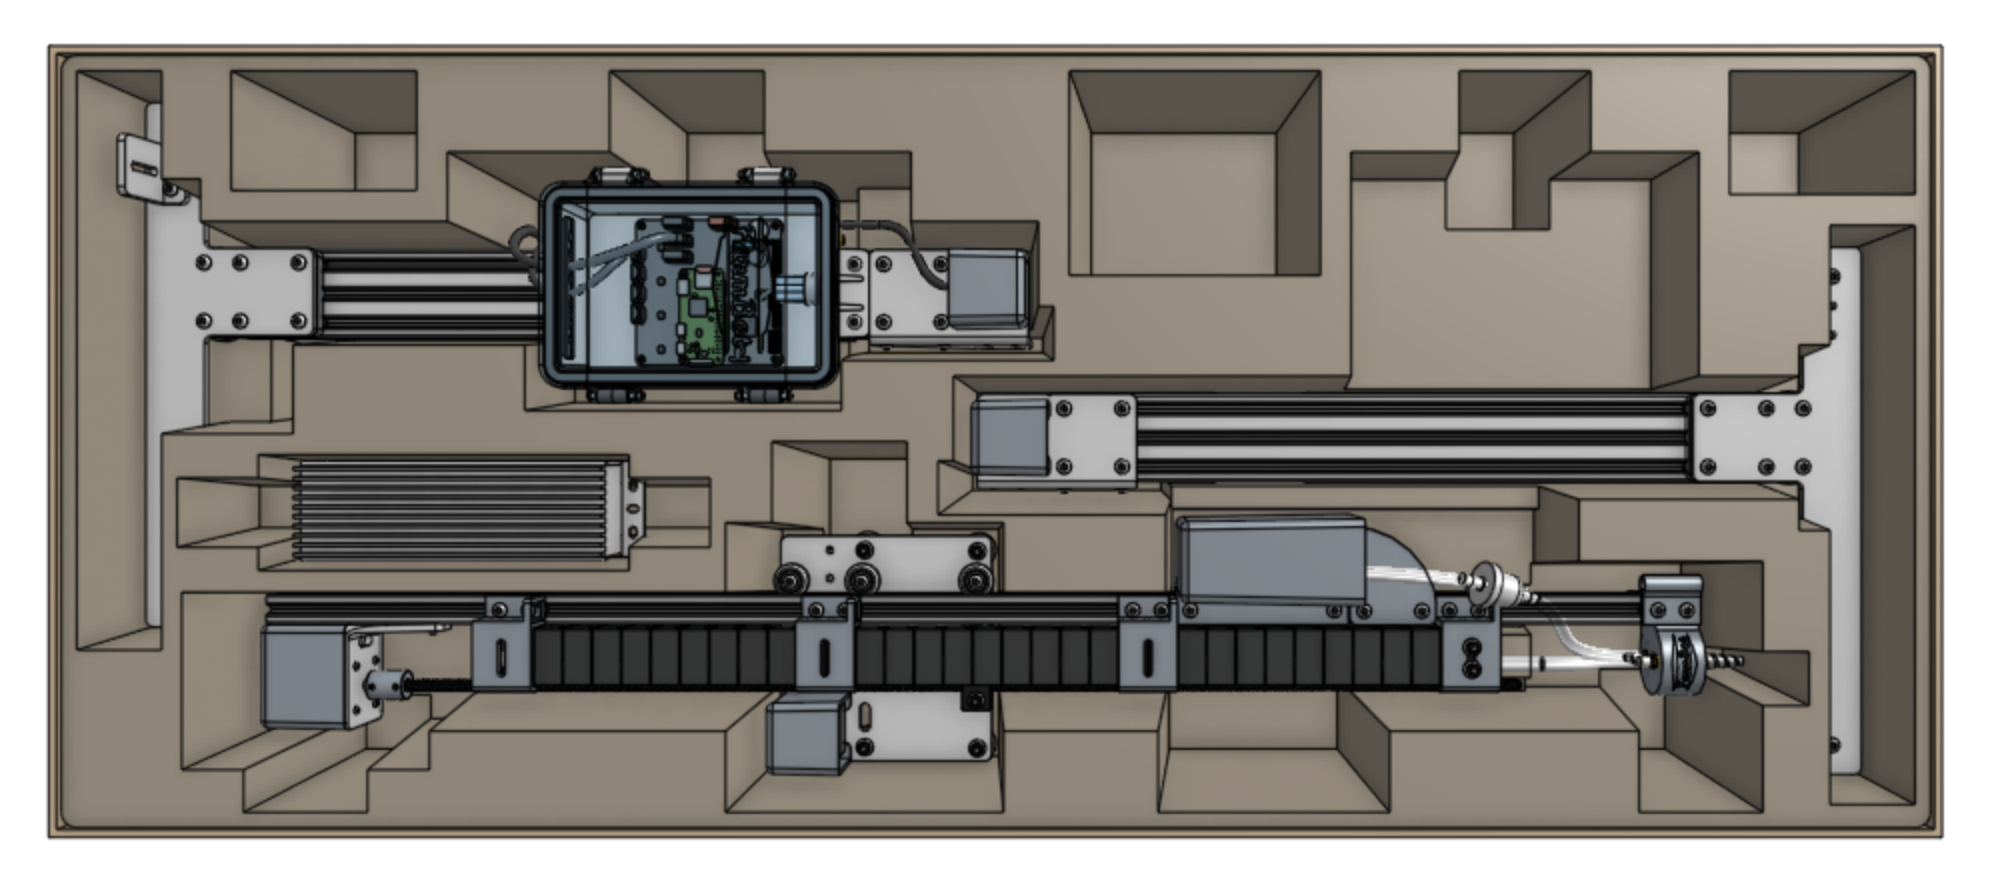
Insert the pre-assembled left gantry column, pre-assembled right gantry column, pre-assembled cross-slide and z-axis, and power supply into the top tray.
Then add some crumpled kraft paper fill on top of the pre-assembled cross-slide and z-axis.
Insert the hardware box into the tray.
Ensure the correct version of the hardware box goes into each kit
Express kits must include the Express version of the hardware box:
- Hardware Box (Express)
Express XL kits must include the Express XL version of the hardware box:
- Hardware Box (Express XL)
Then place the getting started guide, camera calibration card, and crop stickers on top of the hardware box.
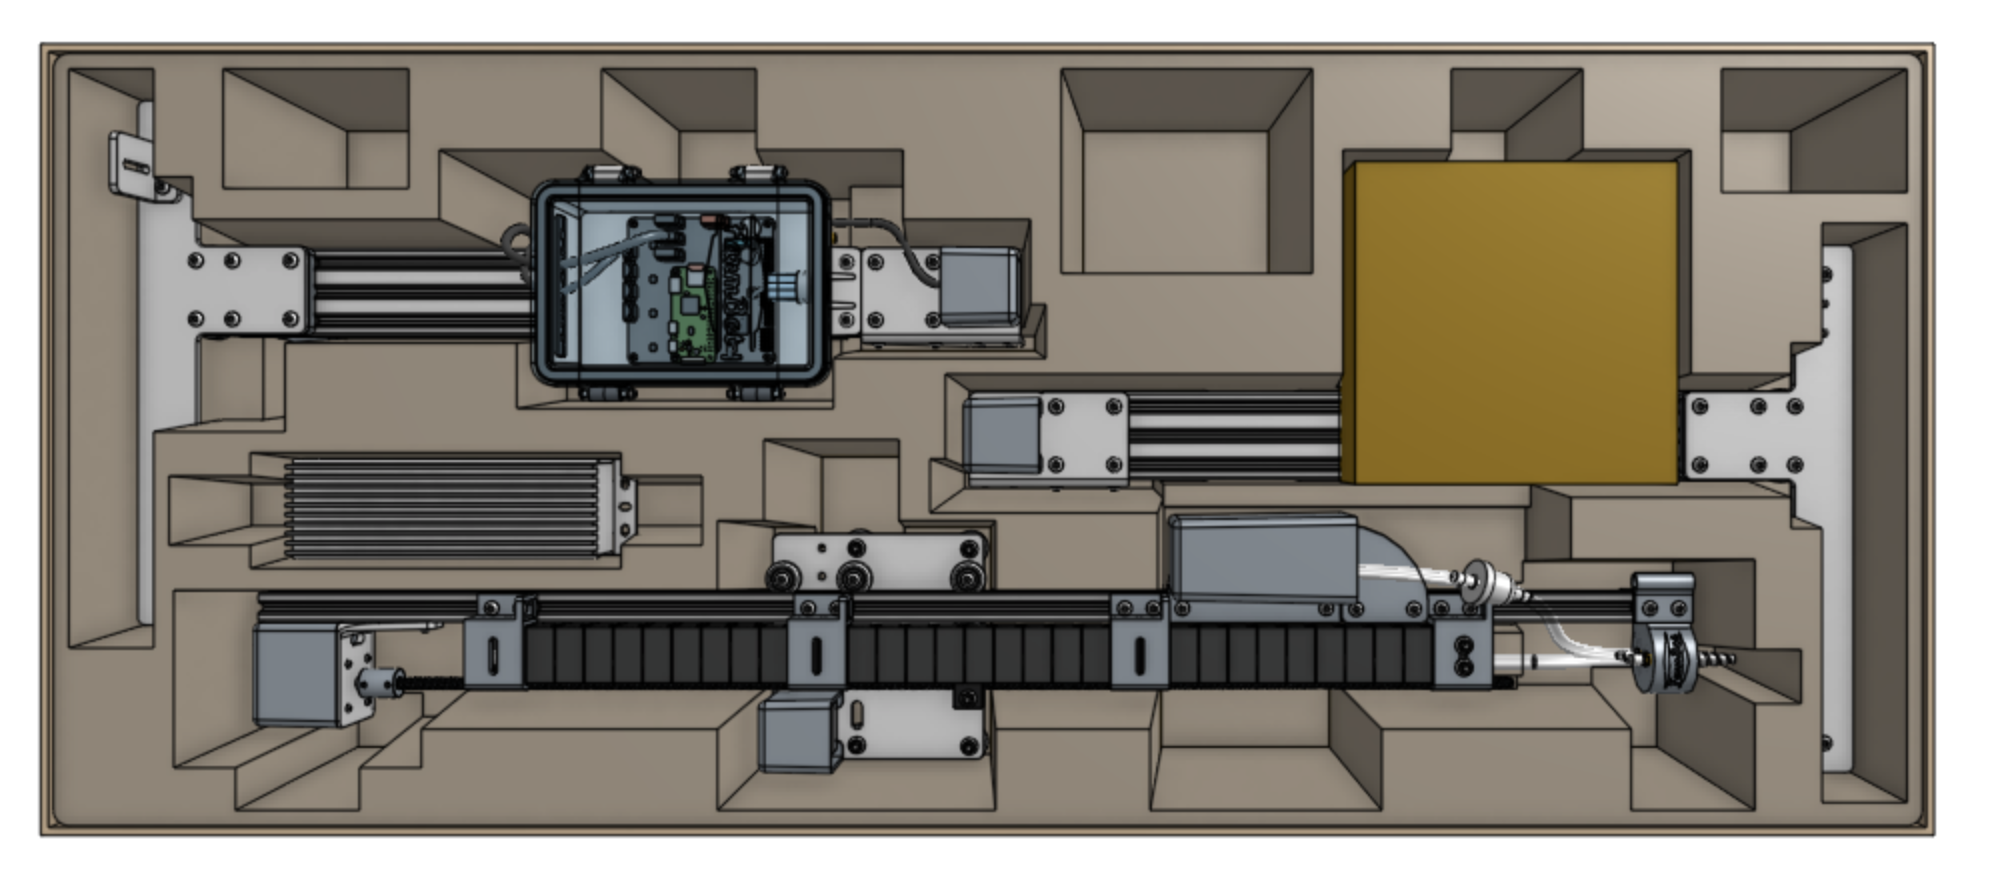
Step 4: Close the main carton
Close the flaps of the main carton and seal with clear packing tape.
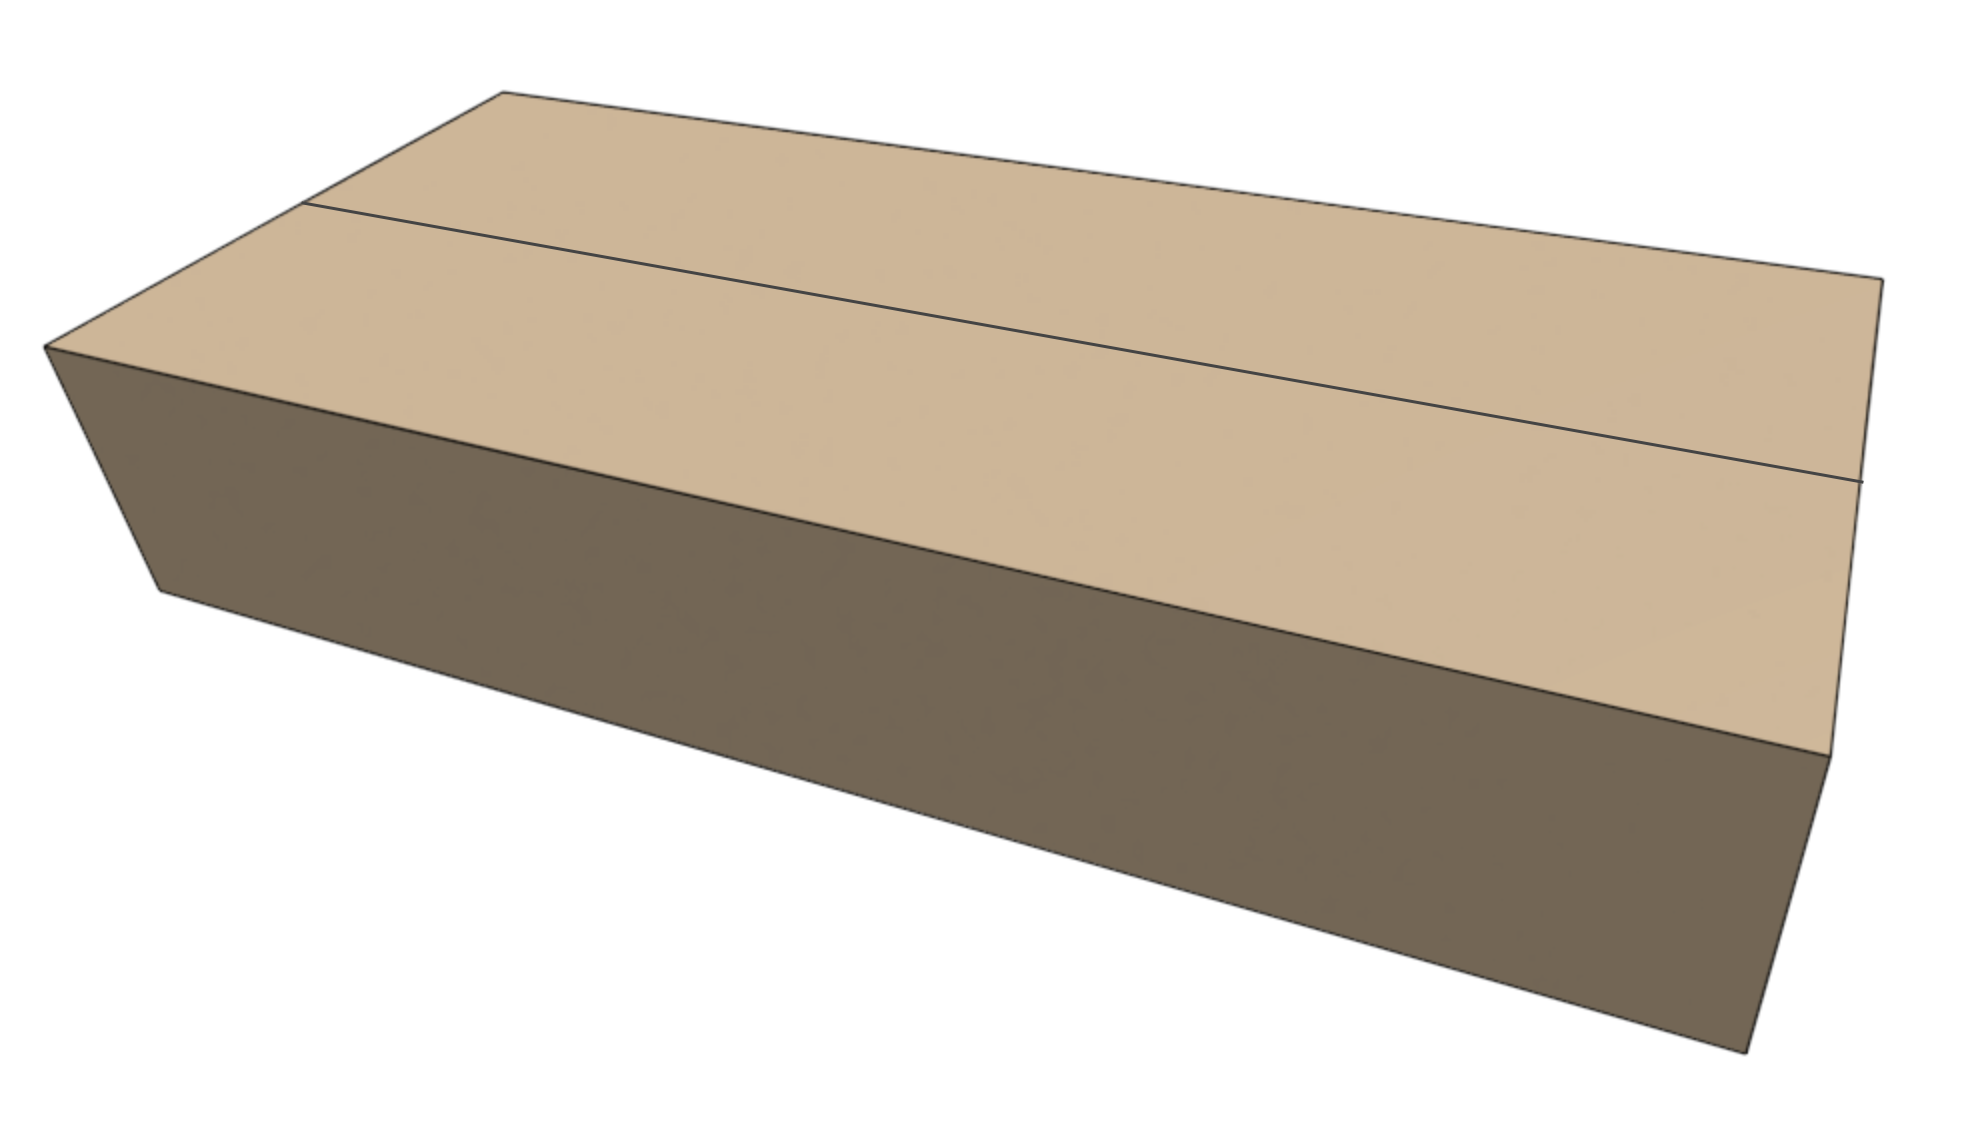
Position 25mm x 25mm cardboard edge protectors along the four long edges of main carton. Then secure everything with six black polystraps. The polystraps should be in pairs: one pair in the middle, and one pair spaced approximately 150mm from each end of the main carton.
